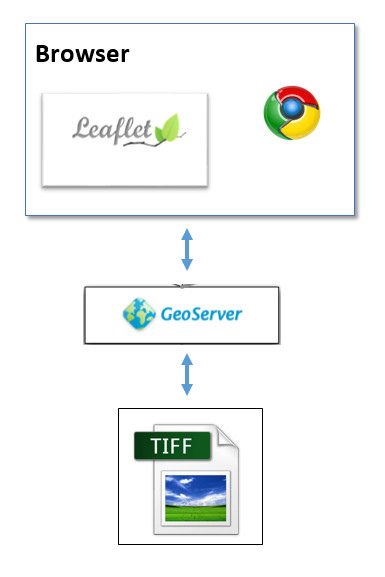
但是我們又不太可能像Google它們一樣架出一個GeoServer然後有很多的圖資,這樣的情況下就需要離線地圖,
我這裡用的是把一張tiff圖檔當底圖,然後架一個geoServer提供給瀏覽器來讀取,架構如下圖
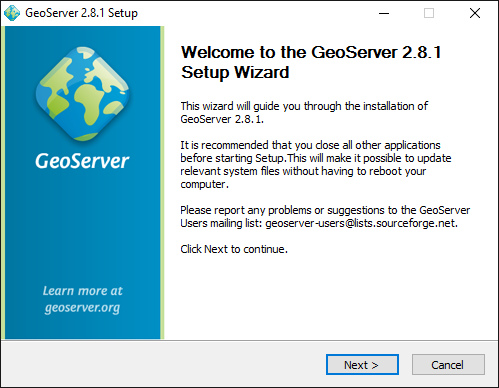
下載與安裝GeoServer (Download & install GeoServer)
Download : http://geoserver.org/download/
下載好後,就跟著下面步驟安裝Following the below steps to install.
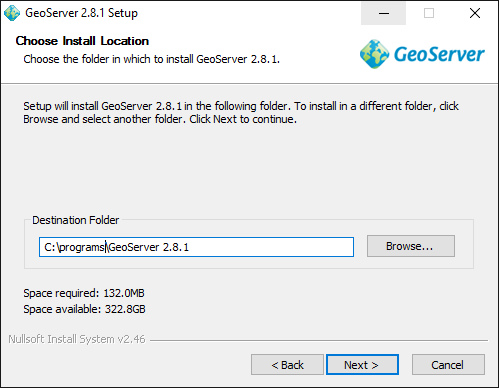
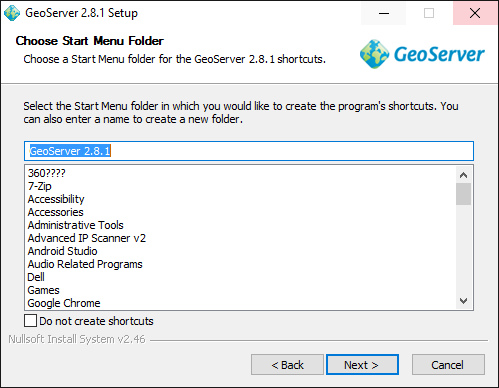
這裡你可以修改安裝的目錄路徑 (You can change the install location. I used to install in programs folder. )
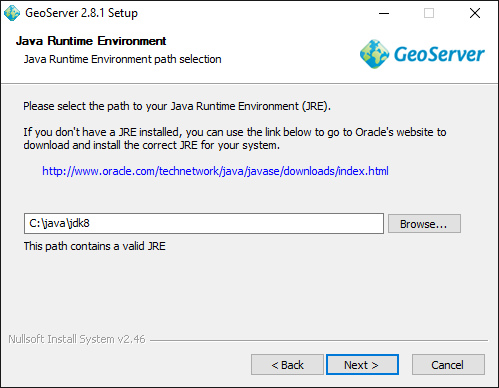
GeoServer需要Java,所以這裡要指定Java的目錄,如果沒有安裝,請點擊URL去下載安裝。
GeoServer安裝程式會確認是否有安裝。
GeoServer need Java. If you did not have it, please down and install java.
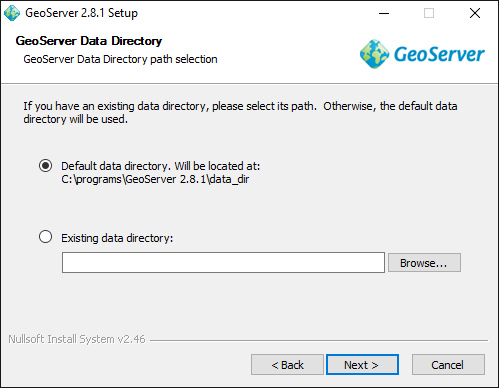
你可以修改你的圖資目錄的路徑,因為有電腦有存取的權限問題。
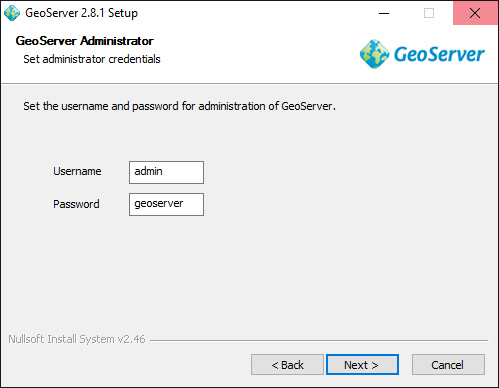
User account and Password. You can change them if you want.
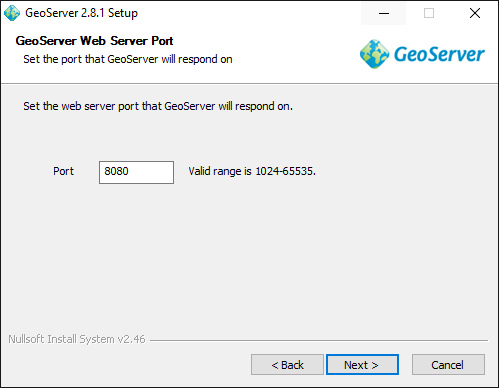
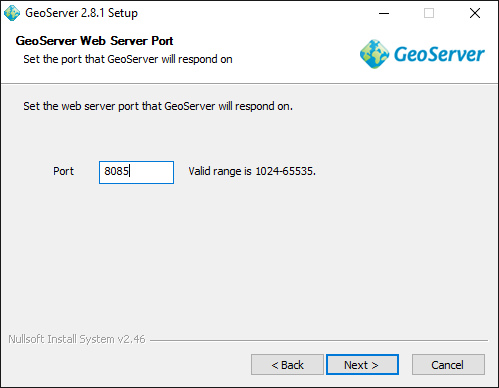
I change the default port number to 8085
GeoServer 是一台網路主機,所以需要port. 我特地修改成8085以免跟其他程式有相沖
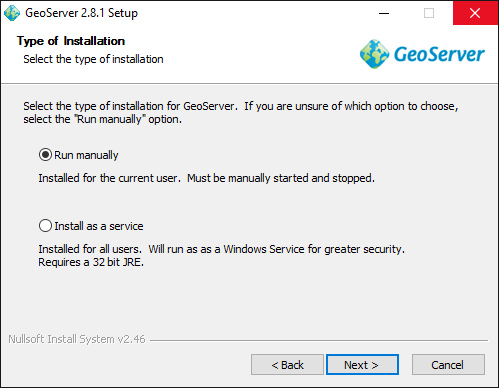
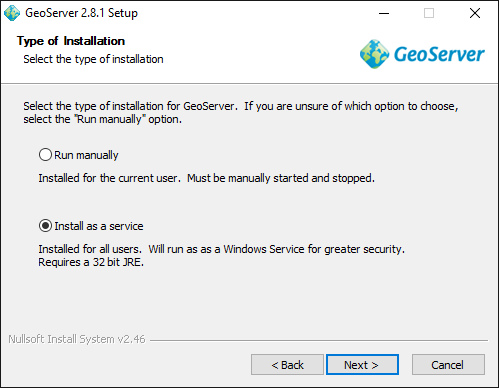
啟動GeoServer的方式。
It depends on how you like to use GeoServer.
如果你是用來開發測試,建議使用"Run manually" ,手動啟動
If you just install GeoServer for development, I recommend to select “Run manually”
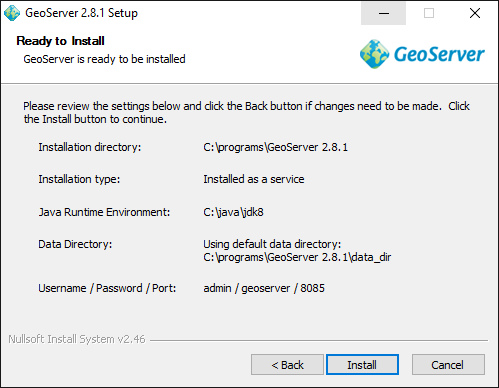
如果你是用來當正式環境運行,建議使用"Install as a service" ,自動啟動
If you just install GeoServer for production environment, select “Install as a service”
確認沒有問題,就按install
GeoServer
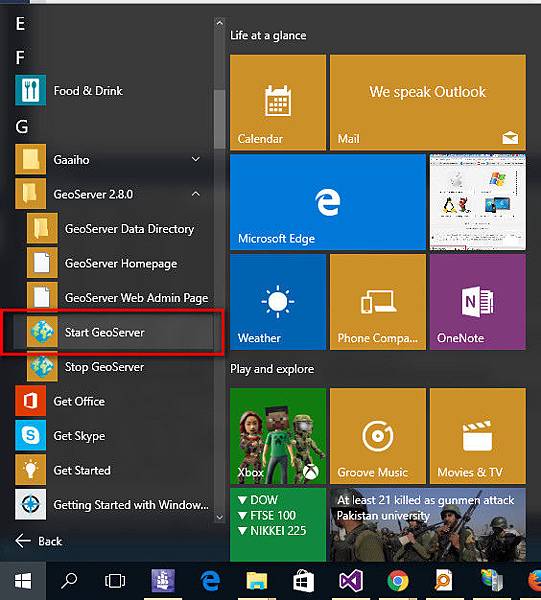
啟動GeoServer
Start --> All apps --> Start GeoServer
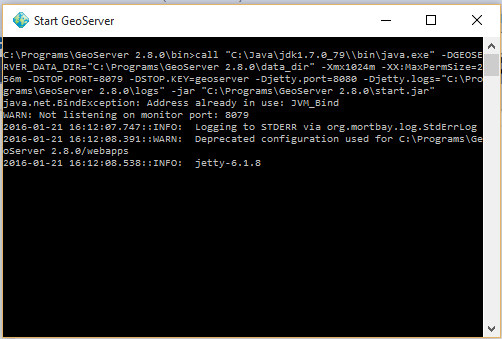
A window will pop up, Please wait for that it done.This window cannot be closed
跳出一個視窗,請等他執行完畢。 這個視窗不能關閉
GO TO GEOSERVER ADMIN PAGE
開啟GeoServer管理頁面
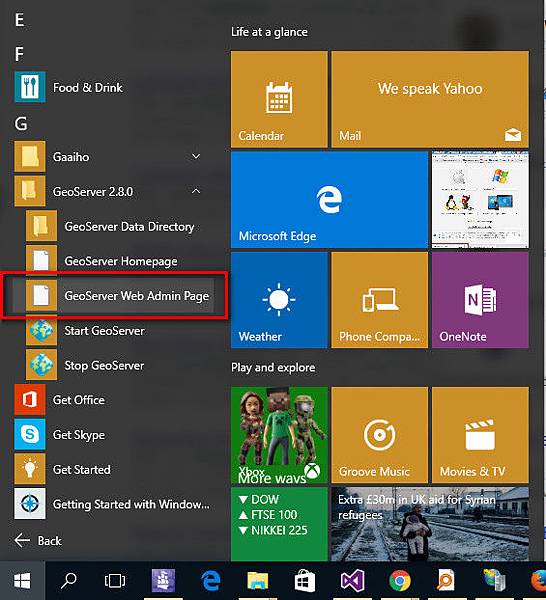
It will redirect to GeoServer Web Admin Page and login into admin page. If you did not change defaulte account and password, it will be admin and geoserver
開啟後就登入 admin 頁面。 如果你沒有改預設帳號跟密碼, 帳號是admin 密碼是geoserver
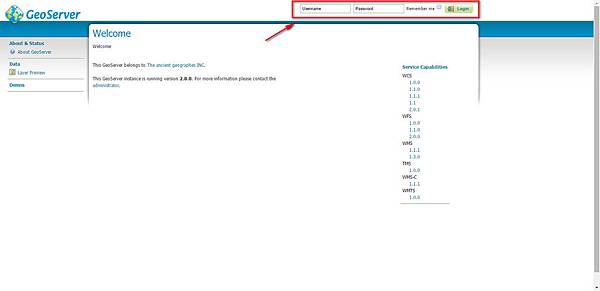
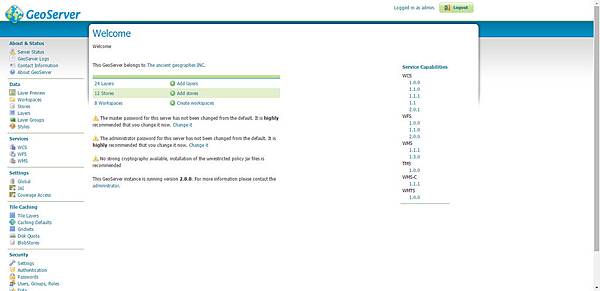
Admin page:
Add layer
the next step is to create a layer which we want to display.
The step is : Workplace --> Stores --> Layers
下一步我們要建立一個圖層。順序是 Workplace --> Stores --> Layers
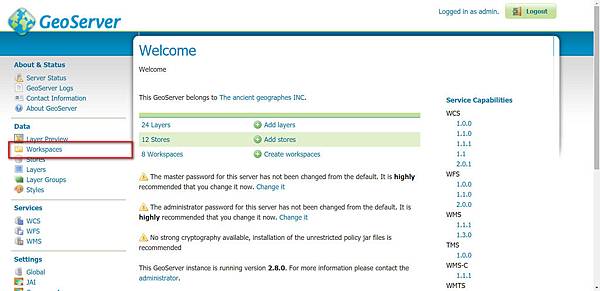
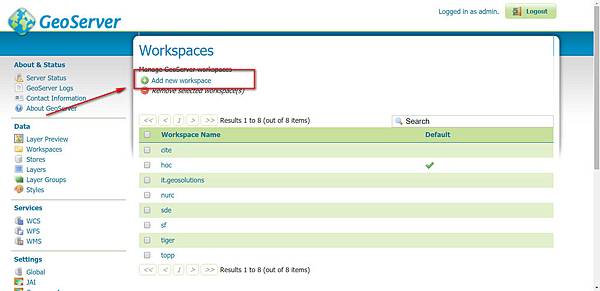
Create a Workplace
Select “Workspace” on left menu
在左選單上選 “Workspace”
Click “Add new workspace”
點擊 “Add new workspace”
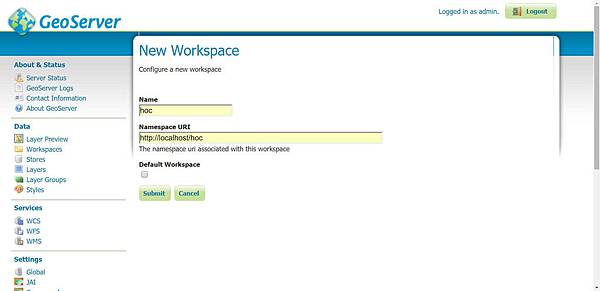
Type in the Name and Namespace URL
They are just a name. I don’t know what Namespace URL use for.
輸入你要的名稱和 Namespace URL(隨你意思取)
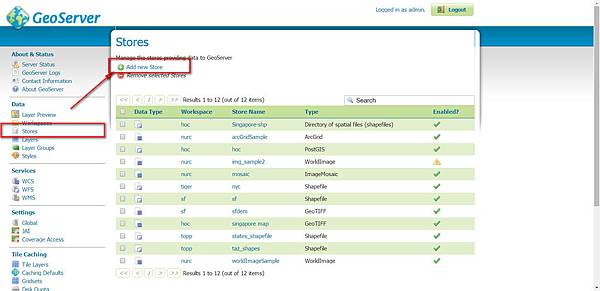
Create a STORE
Select store on the left menu
Click “Add new Store”
在左選單上選"Store "
點擊 “Add new Store”
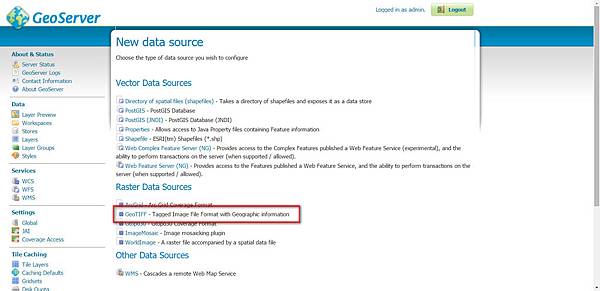
Click “GeoTIFF”
點擊 “GeoTIFF”
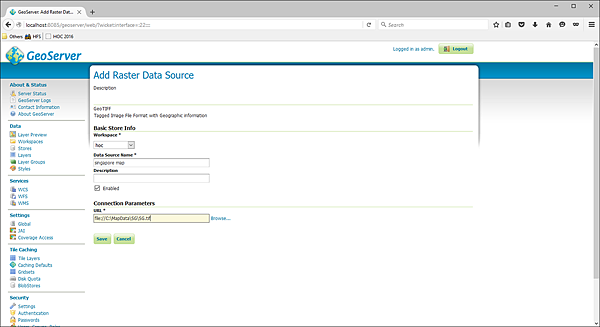
Fill up the Basic Store Info and then click “Save” button
Workspace : hoc
Data Source Name: singapore map
URL : file://C:\MapData\SG\SG.tif (select a image file you want to show)
Enable “Enabled”
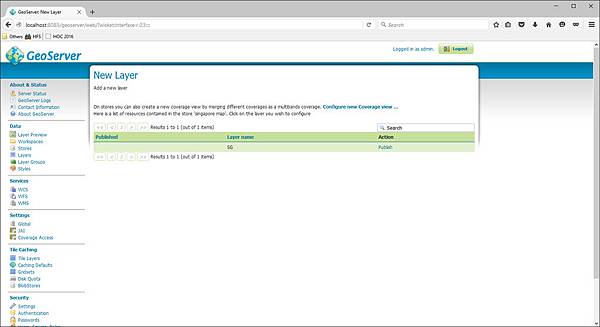
click publish
點擊"Publish"
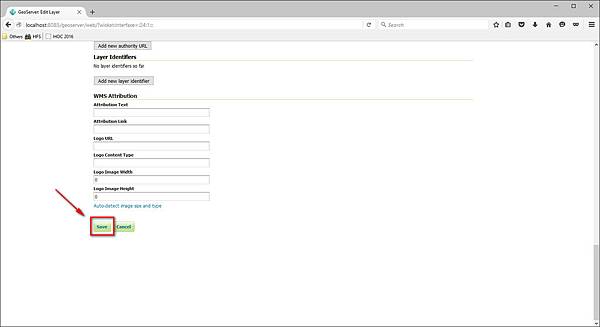
Edit Layer
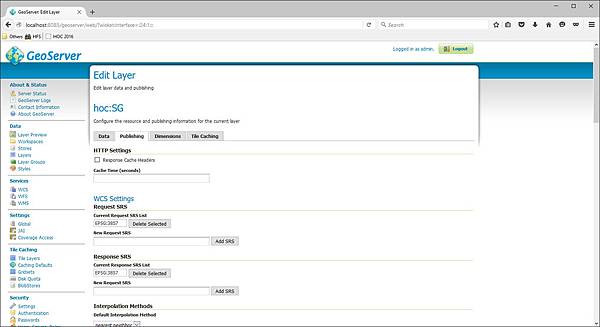
Save it without change
直接儲存不用修改
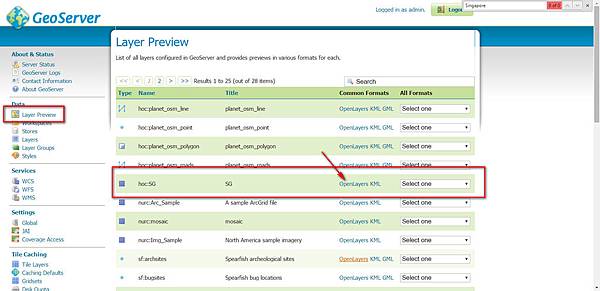
VIEW LAYER 檢視圖層
Select “Layer Preview” on the left menu and click "OpenLayers"
左選單上選 “Layer Preview” and 點擊 "OpenLayers"
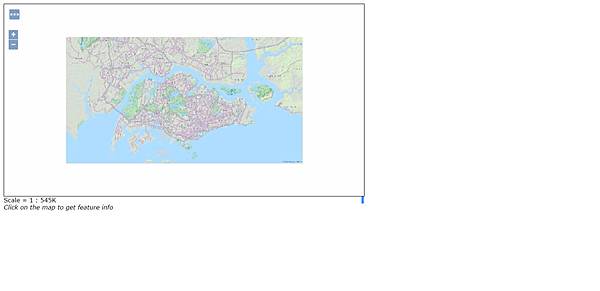
A window will pop up
檢視視窗就出現,等圖片出來
LEFTLET & GEOSERVER
Download example file : https://github.com/kennethhutw/OfflineMapWithGeoSe...
下載範例檔: https://github.com/kennethhutw/OfflineMapWithGeoServerAndLeaflet
<!DOCTYPE html>
<html>
<head>
    <title>Leaflet Leaflet with GeoServer Example</title>
    <meta charset="utf-8" />
    <meta name="viewport" content="width=device-width, initial-scale=1.0">
    <link rel="stylesheet" href="http://cdn.leafletjs.com/leaflet/v0.7.7/leaflet.css" />
</head>
<body>
    <div id="map" style="width: 600px; height: 400px"></div>
    <script src="http://cdn.leafletjs.com/leaflet/v0.7.7/leaflet.js"></script>
    <script>
        var map = L.map('map').setView([1.3571318,103.8080804], 13);
        mapLink = '<a href="http://www.kenneth.net">(Kenneth)</a>';
        L.tileLayer.wms("http://localhost:8080/geoserver/hoc/wms", {
                layers: 'hoc:SG',
                format: 'image/png',
                transparent: true,
                version: '1.1.0',
                attribution: "Hu ChiaWei "+mapLink
            }).addTo(map);
        L.marker([1.3571318,103.8080804]).addTo(map)
            .bindPopup("<b>Hello world!</b><br />I am a popup.").openPopup();
        var popup = L.popup();
        function onMapClick(e) {
            popup
                .setLatLng(e.latlng)
                .setContent("You clicked the map at " + e.latlng.toString())
                .openOn(map);
        }
        map.on('click', onMapClick);
    </script>
</body>
</html>
Result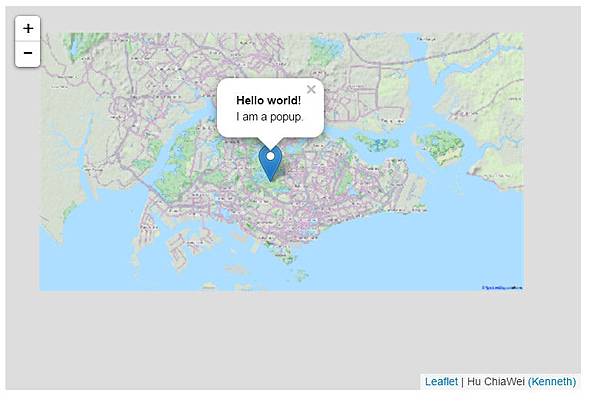


No comments:
Post a Comment